
Natural Materials & Finishes
Clay Floor — A Natural Addition to a Straw-Bale House
Step-by-step clay floor installation following the method used by American natural builders: ground layer, moisture barrier, insulation, clay-straw subfloor, linseed oil sealing and a beeswax finish — an 11-step process.

A clay floor has many advantages: it is healthy, environmentally friendly, water-resistant, extremely durable, inexpensive, easy to repair, and can be made by hand.
Today, clay floors are gaining enormous popularity in America and Europe.
How to Lay a Clay Floor
There are many methods for laying a clay floor. In this article, we'll look at the process as practiced by American natural builders, who also give such a floor a lifetime guarantee.
1. The ground layer at the site of the future floor is compacted.
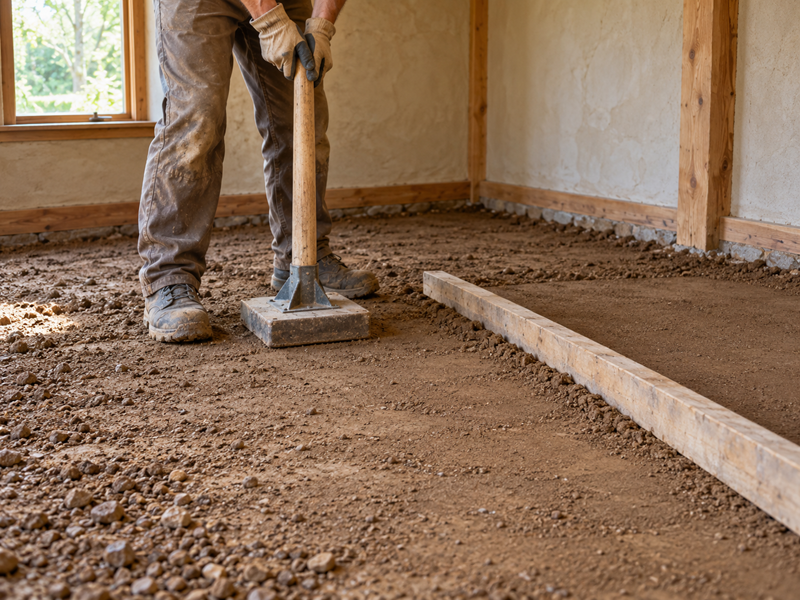
AI-generated visualization of this stage: compacting the ground base for the future floor. Not a documentary photo of an Eco-Bud project.
2. A layer of polyethylene is then laid down to protect the clay floor from moisture wicking up from the ground.
3. A load-bearing insulating layer is laid on top for thermal insulation.
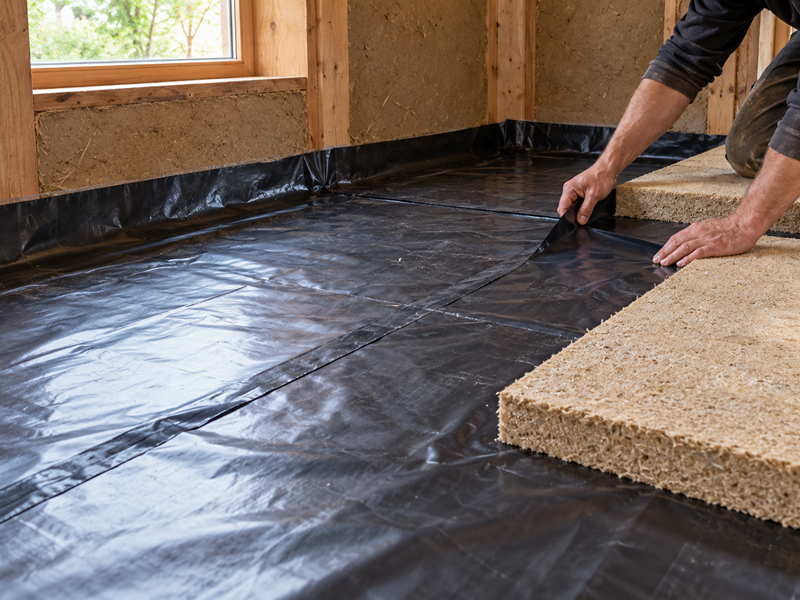
AI-generated visualization of this stage: a moisture membrane over the ground with insulation boards being laid. Not a documentary photo of an Eco-Bud project.
4. Utility pipes are laid.
5. A moisture barrier is laid.
6. Next, a mixture of clay, fine gravel or sand, and chopped straw is laid as the main rough clay floor. This layer forms the main base and is about 7 cm thick.

AI-generated visualization of this stage: mixing the rough clay-and-straw blend. Not a documentary photo of an Eco-Bud project.
7. If a warm (radiant-heated) clay floor is planned, it is installed within this layer.
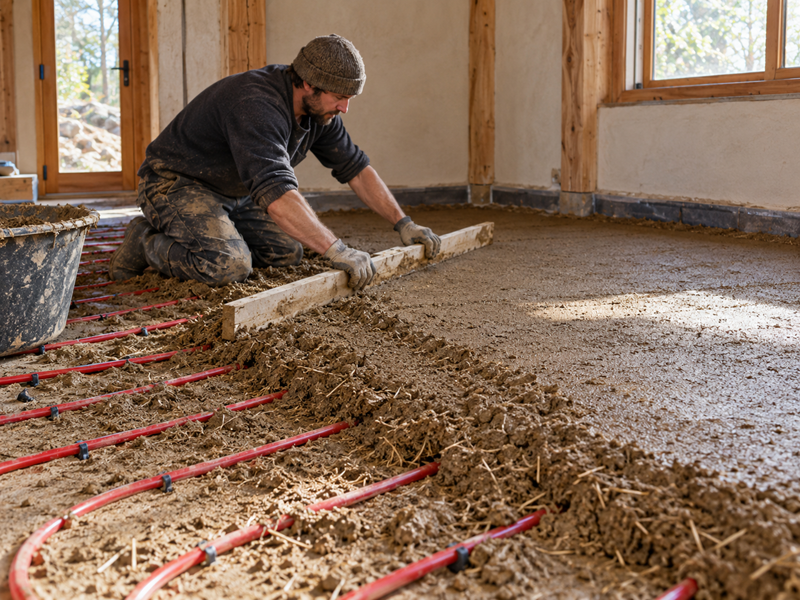
AI-generated visualization of this stage: screeding the rough layer over radiant-heating pipes. Not a documentary photo of an Eco-Bud project.
8. A finish clay floor of clay and sand is laid and smoothed neatly.

AI-generated visualization of this stage: troweling the finish floor layer smooth. Not a documentary photo of an Eco-Bud project.
9. Four coats of a clay/fine sand/20% flour sealer are applied to increase wear resistance. Red clay can be used to add color to the floor. Excess sealer is wiped off with a cloth. Allow to dry.
10. Apply warm, but not hot, linseed oil in 4-7 coats as desired. The first coat is 100% oil, the second is 20-45% mineral spirits, the third is 50-60% mineral spirits. Consumption is 19 liters of linseed oil per 30 sq. m at 4 coats. The floor absorbs the first two coats readily. After that, the oil starts drying more slowly and windows need to be opened. It is advisable to use raw organic oil without chemical additives.
If the proportions are off, the clay floor may remain tacky.
Thanks to deep-penetrating linseed oil treatment, the clay floor becomes like the well-known peasant pottery that people ate from for thousands of years before the advent of porcelain.
Also, when treating with a large amount of linseed oil, there's a chance an unpleasant smell will appear at first. However, it can be eliminated by adding a little citrus oil to the mixture.

AI-generated visualization of this stage: applying linseed oil with a cloth, with a block of beeswax beside it. Not a documentary photo of an Eco-Bud project.
11. Once dry, the clay floor can be coated with beeswax.
The wax layer adds durability to the floor's surface and the aesthetic of a natural protective coating.

AI-generated visualization of the finished floor: window light reflecting on the glossy surface. Not a documentary photo of an Eco-Bud project.
NEXT STEP
Planning a healthy, energy-efficient home?
Tell us about your site, your ideas and the home you want to build. We will help you identify the right next step.